How to Choose the Right Print Size for Your Wall
A practical guide to choosing the right print size for your wall — small, medium, and large fine-art landscape prints, viewing distance, framing, and groupings.
Choosing the right print size is partly practical and partly emotional.
A print has to fit the wall, but it also has to feel right in the room.
Too small, and it can feel lost. Too large, and it can overwhelm the space. The right size gives the photograph room to breathe and gives the wall a reason to exist.
That sounds dramatic, but it is pretty simple in practice.
The best print size depends on three things: the wall, the room, and the way you want to experience the photograph.
Measure the usable space
Before thinking about a specific print, measure the available wall space.
Not the whole wall — the usable area.
If the print is going above furniture, measure the width of the furniture. A common starting point is that the artwork should be roughly two-thirds to three-quarters the width of the piece below it.
For example, if a console table is 60 inches wide, artwork in the 36–45 inch range may feel balanced, depending on the frame and mat.
This is not a hard rule. It is just a starting point.
The biggest mistake is guessing. Measure the wall. Measure the furniture. Think about the final framed size, not just the print size.
Small prints feel personal
Small prints are usually best for close viewing.
They work well in:
- Hallways
- Bedrooms
- Offices
- Reading corners
- Shelves
- Small walls
- Gallery groupings
A small print asks the viewer to come closer. It feels more intimate. It can be especially good for quiet photographs with subtle detail.
Small prints also work well as gifts or first pieces for someone beginning to collect photography.
Typical smaller sizes might include:
- 8 × 10
- 11 × 14
- 12 × 18
These sizes are easy to live with and frame. They do not need a huge wall to work.
A small print can be powerful if it is placed intentionally. It should not feel like a leftover. Give it space. Let it be found.
Medium prints are the most flexible
Medium prints are often the sweet spot.
They are large enough to feel intentional, but not so large that they dominate the room.
They work well in:
- Bedrooms
- Offices
- Entryways
- Dining spaces
- Small living rooms
- Above sideboards or consoles
Common medium sizes might include:
- 16 × 20
- 16 × 24
- 18 × 24
For many buyers, this is the best starting point. A medium print feels like a real piece of art without requiring a large wall or major design decision.
If you are buying your first fine-art landscape print and are not sure what size to choose, this is usually the safest range.
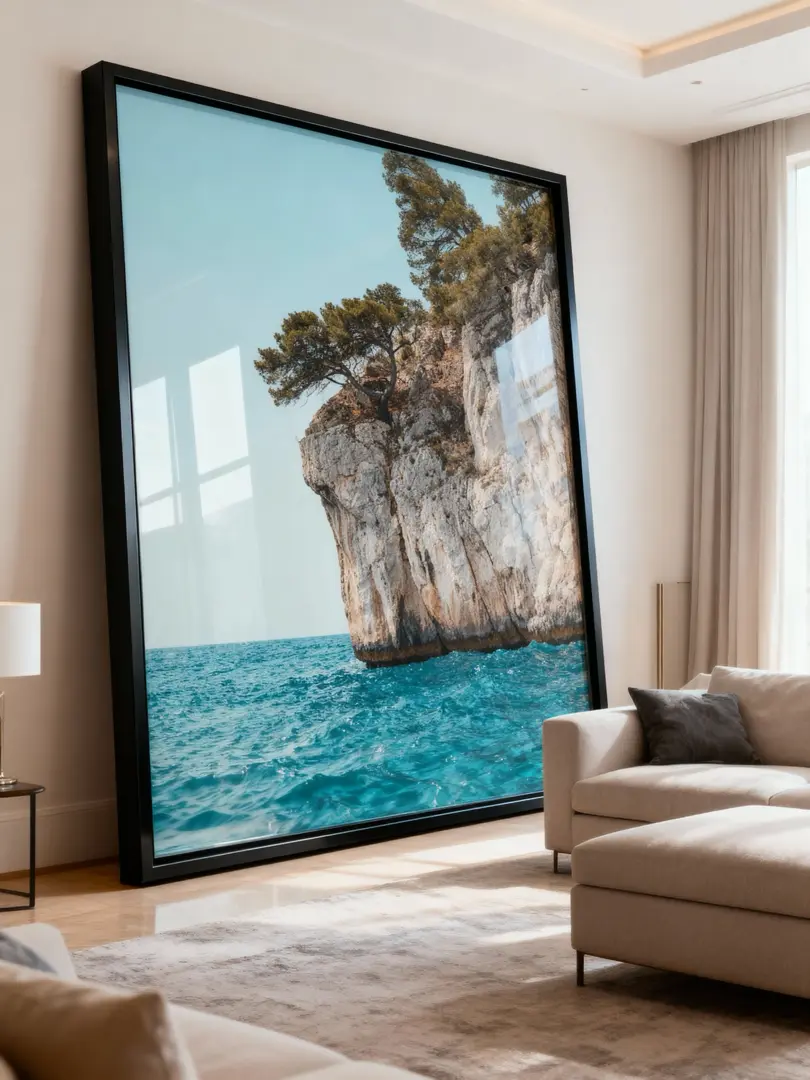
Large prints change the room
Large prints are different.
They become part of the room’s architecture. They can hold a wall on their own and create a strong focal point.
They work well in:
- Living rooms
- Large offices
- Entryways
- Dining rooms
- Stairwells
- Open walls
- Rooms with high ceilings
Common large sizes might include:
- 24 × 30
- 24 × 36
- 30 × 40
- 30 × 45
Large landscape prints can feel immersive. A mountain, canyon, or river scene has more room to breathe. You feel more of the distance and scale.
But large prints need space. They should not feel squeezed.
If the room is large and the wall feels empty, consider going bigger than you think.
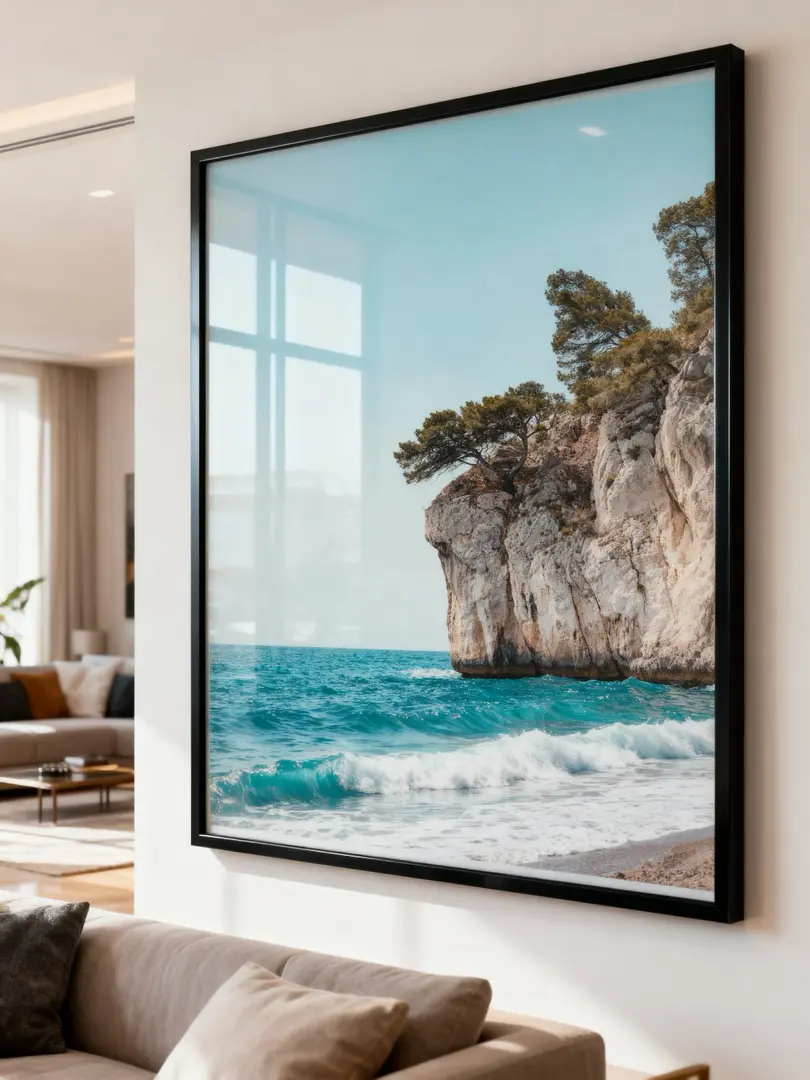
Think about viewing distance
Viewing distance matters.
If the viewer will stand close to the print, smaller sizes can work well. If the print will mostly be seen from across a room, it may need to be larger.
A hallway print can be smaller because people pass close to it. A living room print may need more scale because people see it from several feet away.
A useful question:
Will this be looked at from three feet away or twelve feet away?
That answer helps decide the size.
The farther away the viewer is, the more the print needs clear structure and enough scale. From across a room, small details disappear. Shape, contrast, and size become more important.
Mock it up before buying
The easiest way to choose a print size is to mock it up.
Use painter’s tape on the wall and outline the size. Try the size for a day. Walk past it. Sit in the room. Look at it from where you normally stand or sit.
You can also cut paper to size or use cardboard.
This simple step prevents most sizing mistakes.
A print often looks larger in your hands than it does on the wall. The wall almost always makes it feel smaller.
Mocking it up helps you see the final object, not just the dimensions.
Include the frame and mat
The listed print size is not always the final framed size.
If a print is 16 × 20 inches, the final framed piece may be larger once you include matting and frame width.
That can be a good thing. A generous mat can give the photograph breathing room and make the final object feel more substantial.
When planning a wall, think in terms of framed size, not just print size.
For example, a 16 × 20 print with a mat and frame might feel closer to a 22 × 28 object on the wall. A 24 × 30 print might become a much more substantial framed piece.
The frame changes the presence of the print.
Choose based on the photograph
Not every image wants to be huge.
Some photographs get stronger at a large scale. Big skies, mountains, canyons, rivers, and open landscapes can often handle size.
Other photographs may feel better smaller. Quiet scenes, intimate details, or images with subtle mood may work beautifully as smaller prints.
The image should guide the size.
A print should not be enlarged just because it can be.
Some images want to be room-defining. Others want to be discovered.
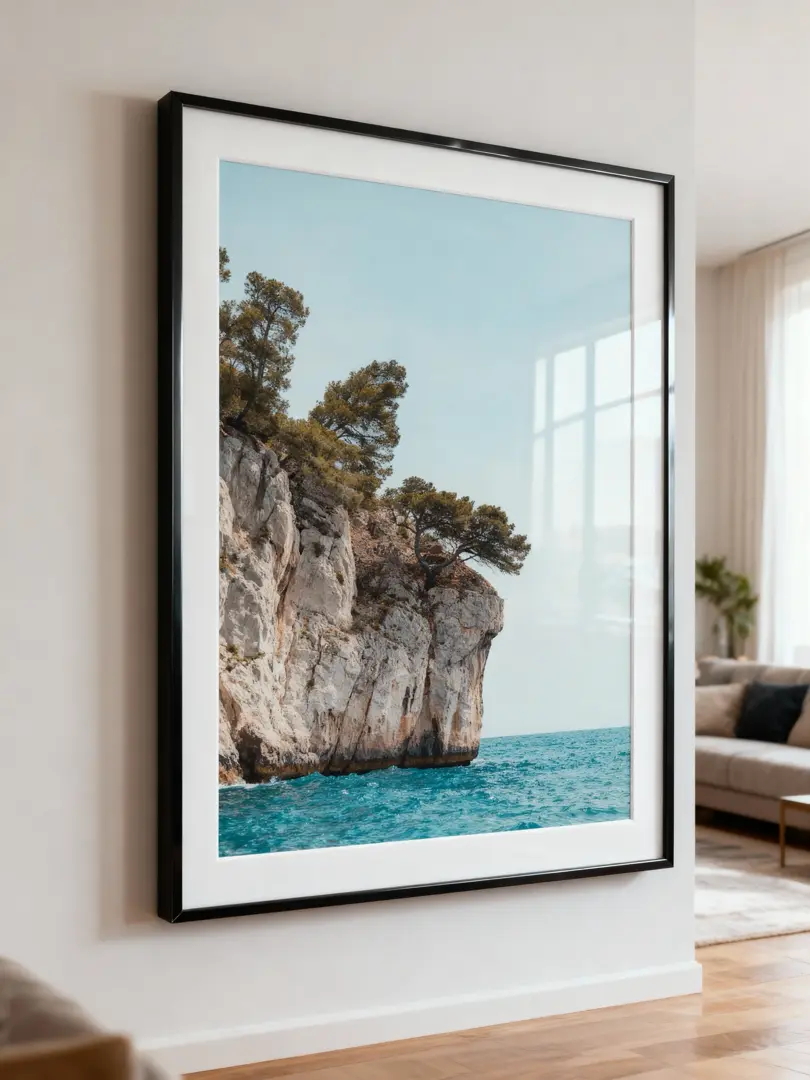
Orientation matters
Horizontal, vertical, and square prints all behave differently.
A horizontal landscape print often works well above furniture, in living rooms, over beds, or in wide spaces.
A vertical print can work well in narrow walls, hallways, entryways, or spaces between windows.
A square print can feel balanced and object-like, especially in a grid or paired with other work.
Orientation matters as much as size.
A large vertical print can make a room feel taller. A horizontal print can make a wall feel wider. A square print can create calm and symmetry.
Think about groupings
Not every wall needs one large print.
Sometimes a group of smaller prints works better.
A set of two or three related images can create rhythm. A grid can feel more archival. A pair of vertical prints can fill a narrow space. A group of smaller images can tell more of a story than one large piece.
If you are building a grouping, keep the frames consistent and leave enough space between pieces.
The images should feel related, either by place, tone, subject, or mood.
My general advice
For most people buying a first print:
11 × 14 is small, easy, and personal. 16 × 20 is flexible and works almost anywhere. 24 × 30 starts to feel like a major piece. 30 × 40 or larger becomes a room-defining print.
If you are unsure, start with a medium size. It is usually the safest balance.
If the room is large and the wall feels empty, consider going bigger than you think.
The simplest rule
A print should feel intentional.
Not too timid. Not too loud. Not like filler.
The right size gives the photograph enough space to become part of the room.
That is the goal.
Not just to cover a wall. To live with the image well.